Initial Onboarding Setup
Appy Stamp is intuitive to set up and easy to manage your loyalty scheme with. Here, we’ll talk you through the simple steps you need to follow to create and manage your loyalty program with Appy Stamp.
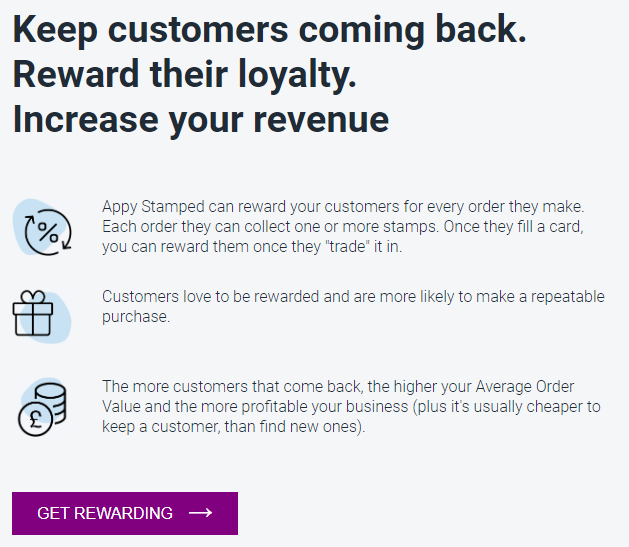
Thank you for choosing the Appy Stamp app for your Shopify store. As soon as you’ve added us to your dashboard, you should see this message. Click Get Rewarding to begin the Onboarding setup process.
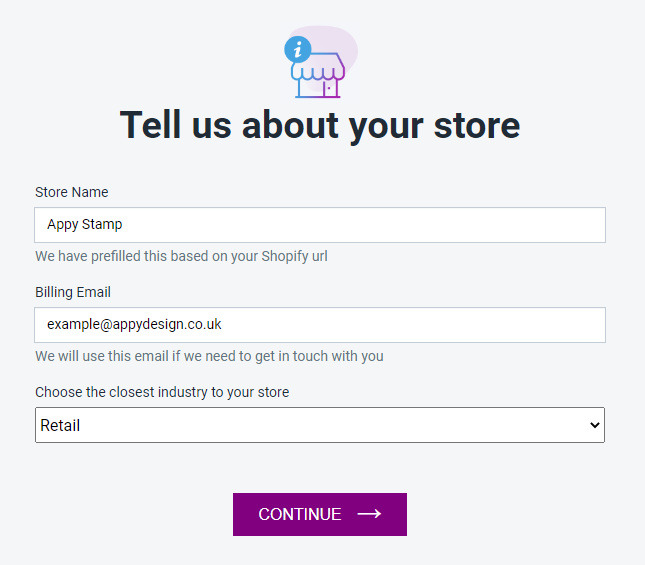
Firstly we just need to know a few basic details about who you are: your store name, billing email address and the industry you feel best describes your store. Then click Continue.
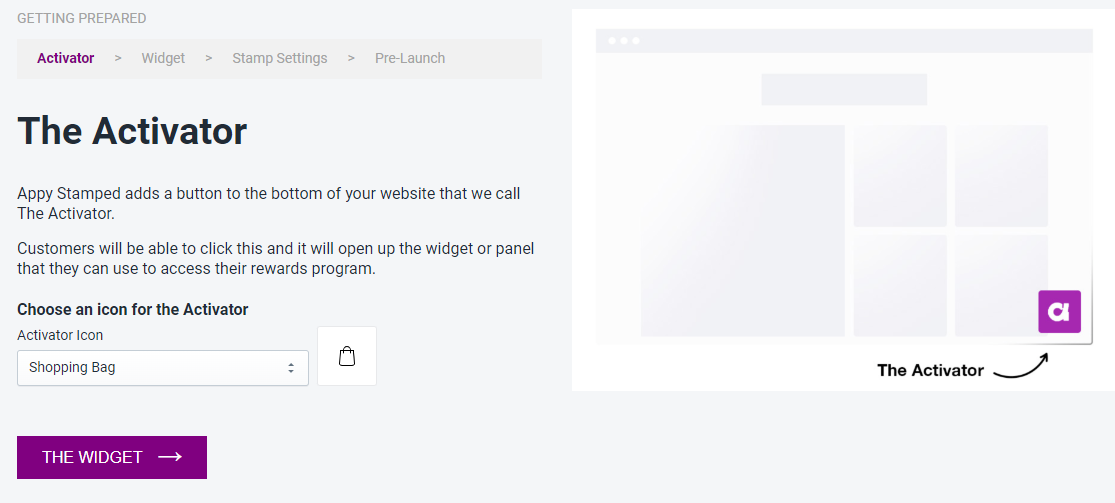
Next, we’ll set up how the app will look when overlaid onto your store. Here, choose the icon you would like to use on the Activator button that opens the loyalty program Widget for your customers.
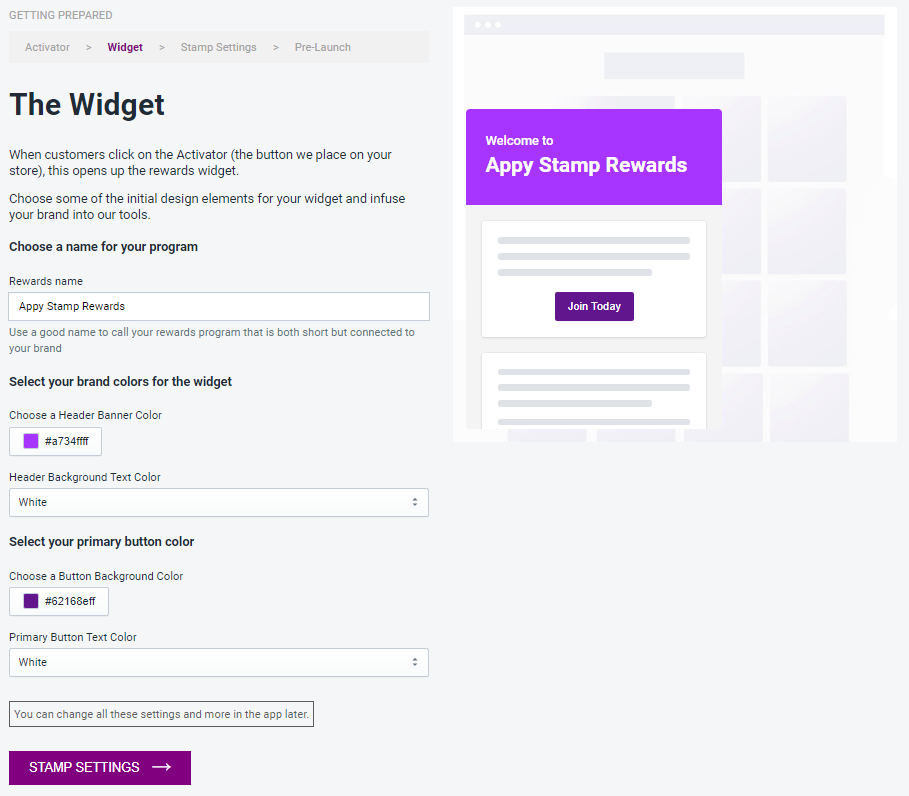
The Widget is our name for the overlay that will guide your customers through their loyalty experience on your Shopify store. Here, you can choose a name for your loyalty program (it could be your store name or a separate name specifically for the rewards scheme, for example).
You can also choose your colour scheme for the Banner in the Widget and any Buttons within. Clicking a colour here will bring up a colour picker here you can find the perfect shade for your brand, or you could enter a hex code at the bottom of the picker if that’s your preference.
Don’t forget to set your text colour here too, so your customers can read the information clearly. A live preview of your choices is shown on the right of the page. When you are happy, click Stamp Settings.

Stamp Settings is where you can set up the fundamentals of your loyalty scheme. With Appy Stamp, your customers earn stamps for performing various actions throughout your store, which we’ll cover in more detail later.
Here, you can decide how many Stamps your customers will need to collect in order to complete a Card. Cards are what your customers will trade in for their rewards once they have filled enough of them up with stamps.
We’ll be using 10 stamps per card in our example here, but you can choose whichever number you feel is best for the loyalty program you want to run. We’ll be using the terms ‘stamp’ and ‘stamps’ throughout this guide but you can customise these terms to better fit your business.
For example, a coffee shop might call them ‘bean’ and ‘beans’. You can also choose an icon to represent each stamp from the drop-down menu, which you can match to your Activator icon or, if you choose one of our paid plans, upload your own custom icon later in the process.
On the right hand side of this page you’ll see our helpful reward calculator which will help you set up your first basic reward – the discount your customers will get for completing a stamp card. This can all be changed later too, of course.
Our calculator helps you work out the ideal percentage of discount you can offer based on the specifics of your store. There are even more options for this once we finish the Onboarding process. When you are happy, click on Pre-Launch.
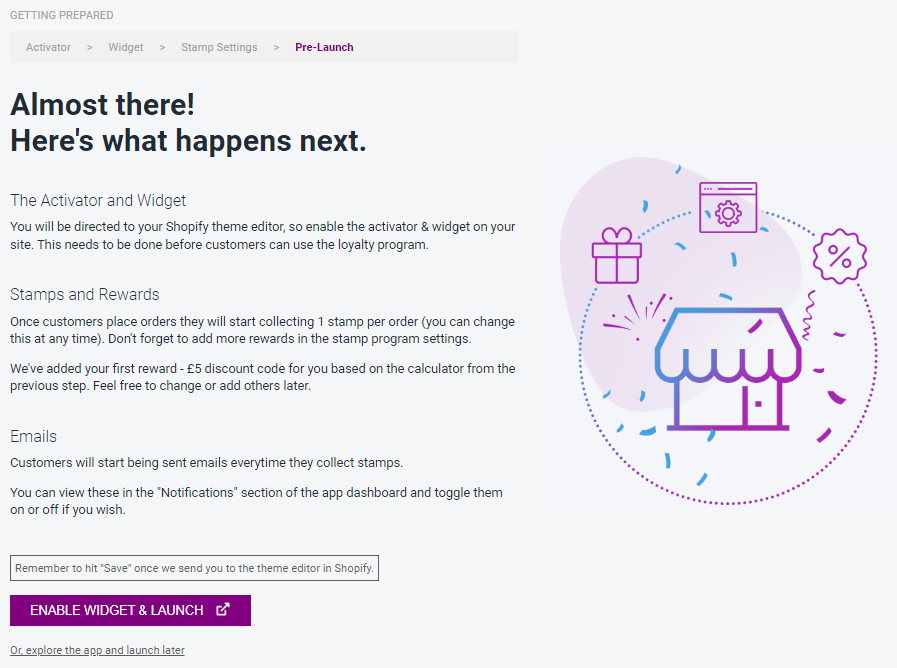
If you are happy with everything you have chosen so far, read through this page and then click Enable Widget & Launch to turn on your reward scheme and start building loyalty with your customers. If you’d like to jump into the app and look at all the options we’ve created for you before you launch, just click Explore the App and Launch Later instead.

Welcome to the Appy Stamp home page! This is the page you will start on whenever you come into the app from your Shopify Dashboard.
All the subpages appear at the top of this page, and you’ll also find a basic breakdown of recent activity on your discount program here. Scroll down and you’ll see a feedback form where you can leave a review of the app, and some quick answers to our most frequently asked questions too.
Right, let’s jump into the rest of the settings.