Shopify Flow
Flow is an eCommerce automation app by Shopify that you can use to automate tasks and processes within your store and across your apps.
This guide will go through the stages of setting up Flow for use with our actions that you can further expand your loyalty program by tying in more of Shopify’s data.
On this page
Workflow options breakdown
| Workflow component | Description | Example |
| Trigger | A trigger is an event that starts a workflow, and can be something that happens in your store or in an app. | A new order is created in your store or a customer is created. |
| Condition | A condition determines whether an action is taken, based on the conditions that you set. | A condition is set to check whether the total amount paid for the order is over 200 USD. |
| Action | An action is a change that’s made to your store or in an app when the condition is met. | If the total amount paid for the order is over 200 USD, then a tag is added to the account of the customer who placed the order. |
Installation
Install the Shopify Flow app is required if you wish to use our actions. Don’t worry it is free and can be set up in minutes.
- Head to Shopify Flow app page and install it.
Setting up a workflow
- Click on create workflow
- This will bring up the workflow building page

3. Click select a trigger where you can choose how your workflow starts.
If set up correctly your builder page should look like this below where you can select your trigger from the different apps.
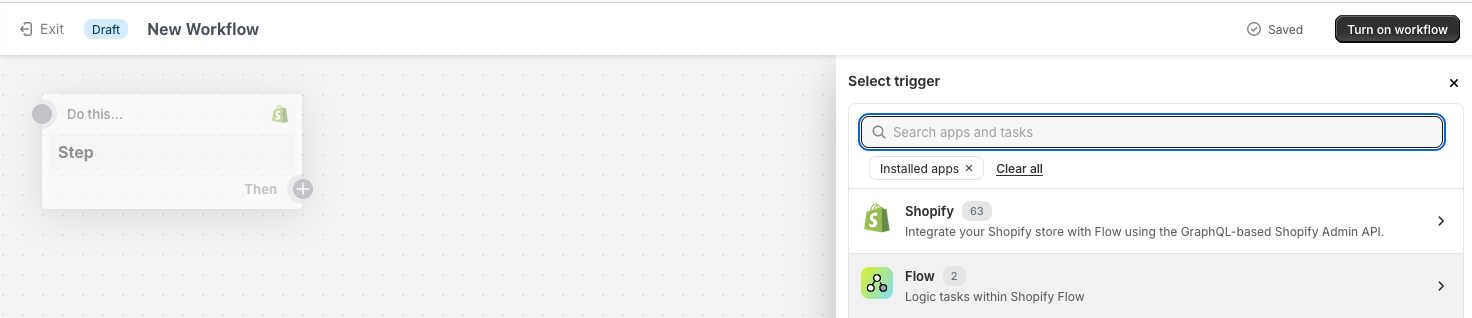
4. Click on customer created as a trigger under the Shopify app just an example.
5. Now select Then and choose action.
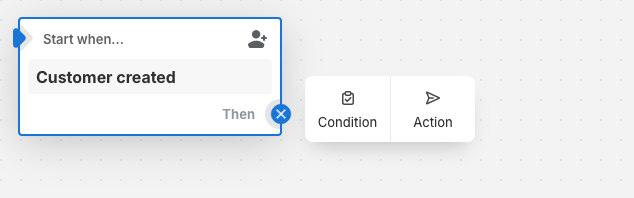
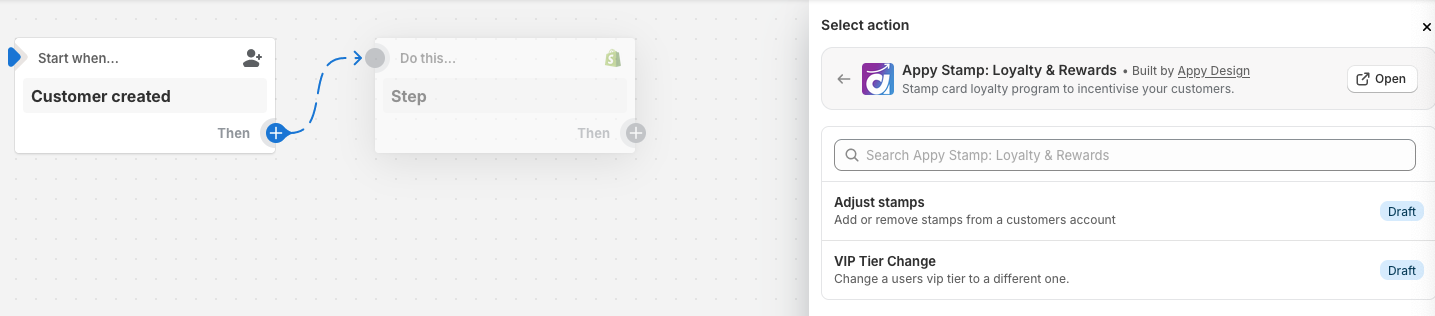
6. Then Appy Stamp Loyalty & Rewards this will bring up 2 actions, Adjust stamps and VIP Tier Change
Adjust stamps action
Once you select Adjust Stamps you will be allowed to choose how many stamps will be rewarded once the workflow runs.
Note: we automatically select the customer ID based on the workflow trigger itself. This means the trigger must have the customer object as a property.
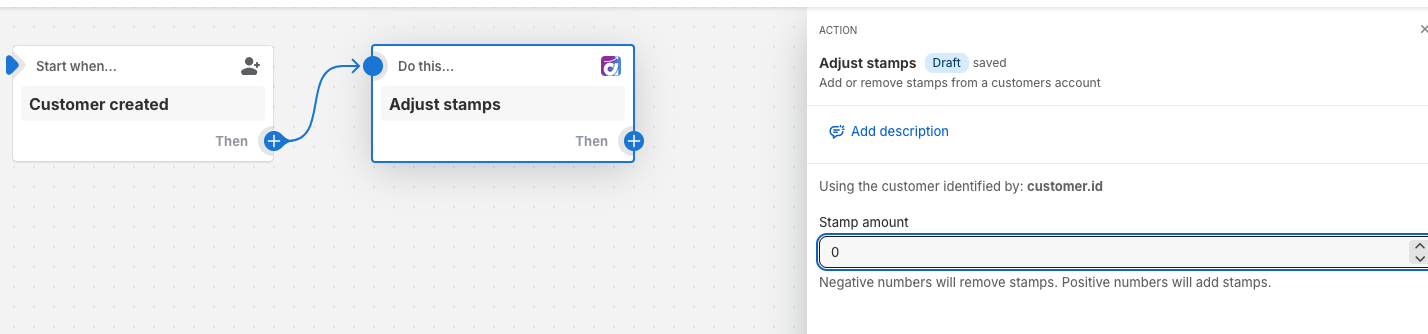
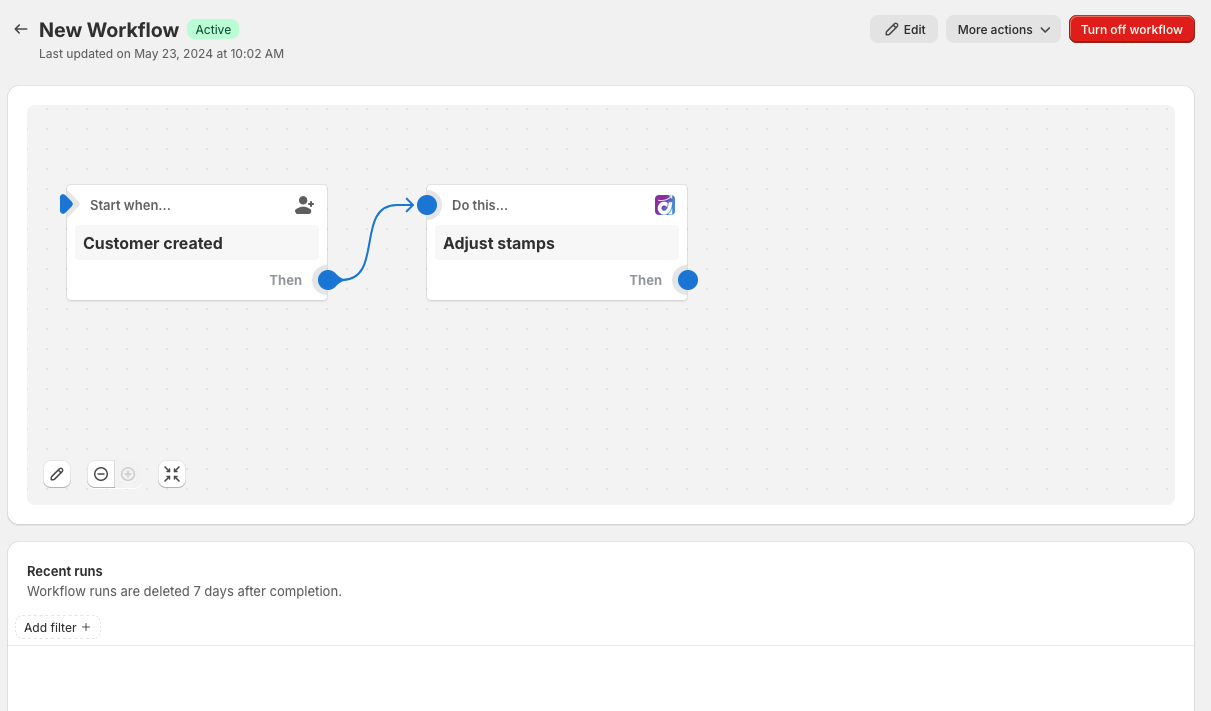
Once you’ve set everything up, you can save the workflow and turn it on. Finally, it should look like this:
VIP Tier Change
The set up for VIP tier change is the same apart from choosing the other action once you’ve selected a trigger.
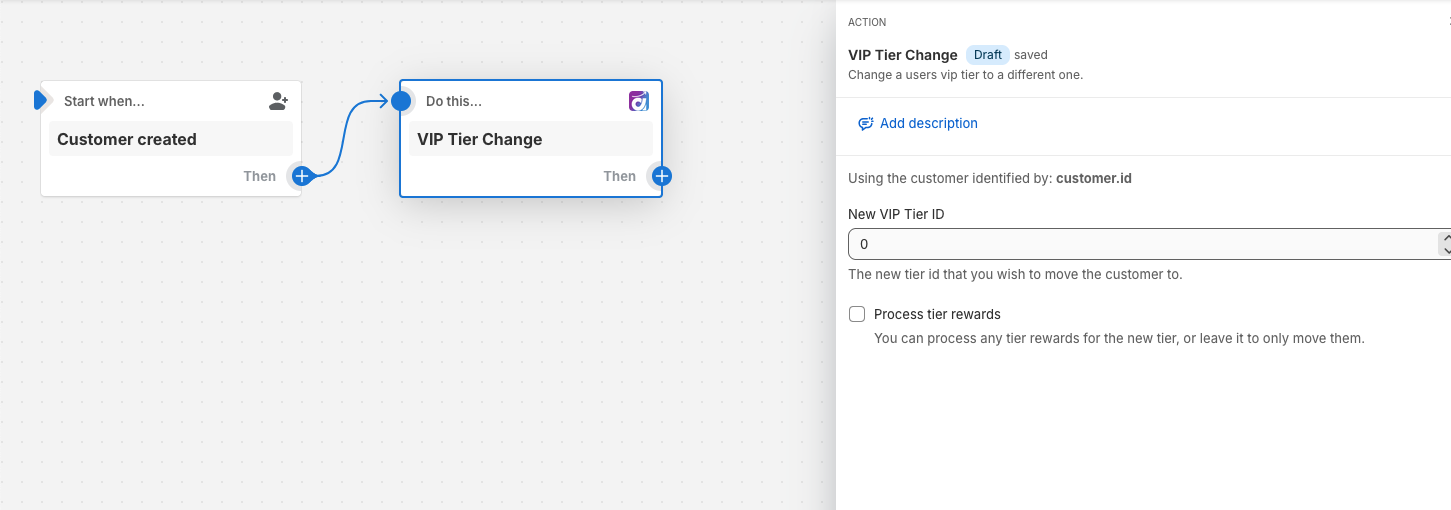
You can select which tier the customer gets once the trigger is activated.
Note: You will need to use the tier ID number thats assigned to the tier you want to give. You can get your tier IDs from the VIP Program settings inside our loyalty app.
Once set up, it should look something like this.
You can save the workflow and then turn it on.