Putting A Collection On Sale
It’s a common scenario in Shopify that you want to run a sale on a very specific set of products that are not normally grouped together via product type or product vendor etc.
Our discount app tried to reduce the number of API calls it makes to Shopify – so we don’t natively allow setting up sales directly on collection.
We do have a way of discounting items in a collection easily in a couple of minutes.
1. Set up your collection if you have not already – you can read this Shopify help article on the steps.
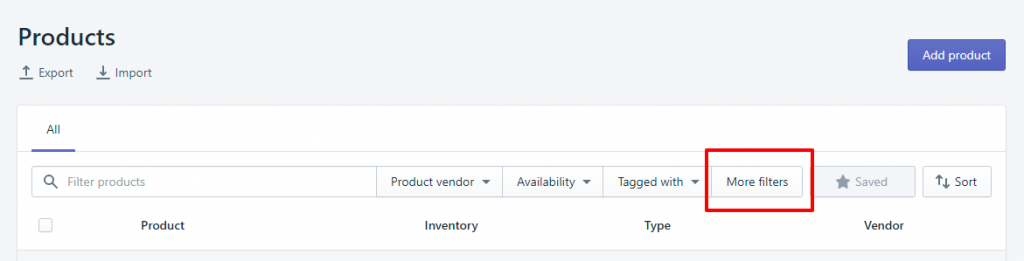
2. Head to the products page in Shopify and select the More Filters button from the menu as the top.
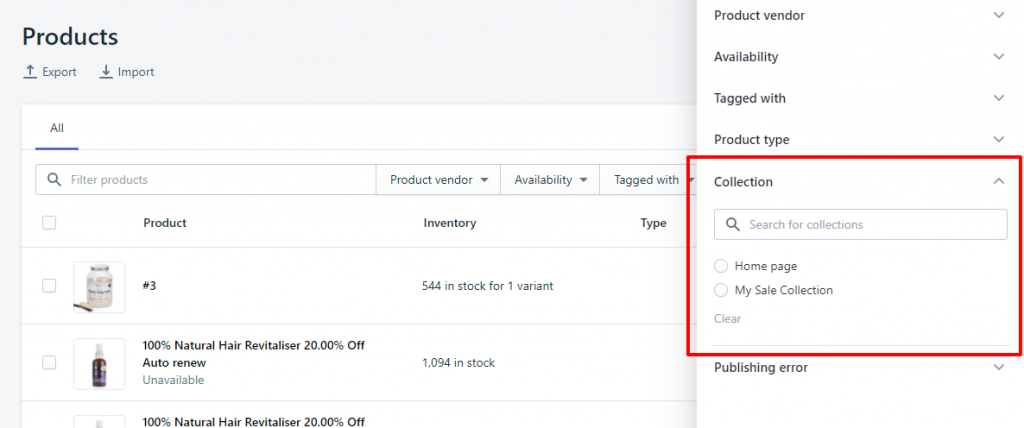
3. Select the Collection you wish to put on sale. You can search for it if you have multiple and it does not show up in the list.
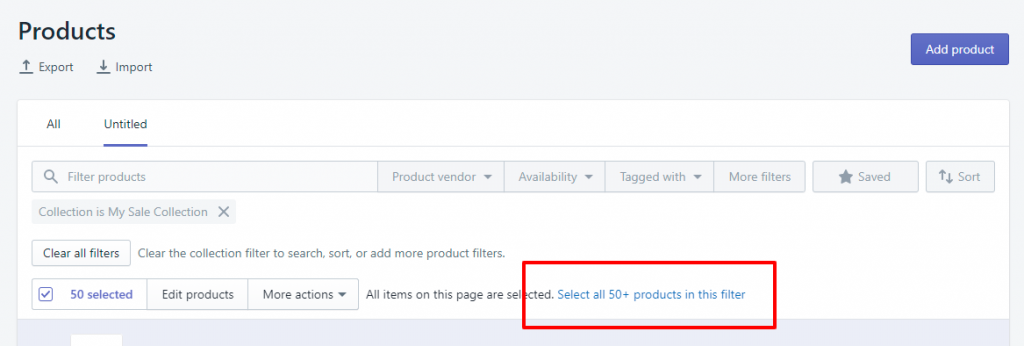
4. This will now filter the products in that collection. Make sure you click the option to select all products in this filter. Otherwise, it will only select the first 50 if you have more.
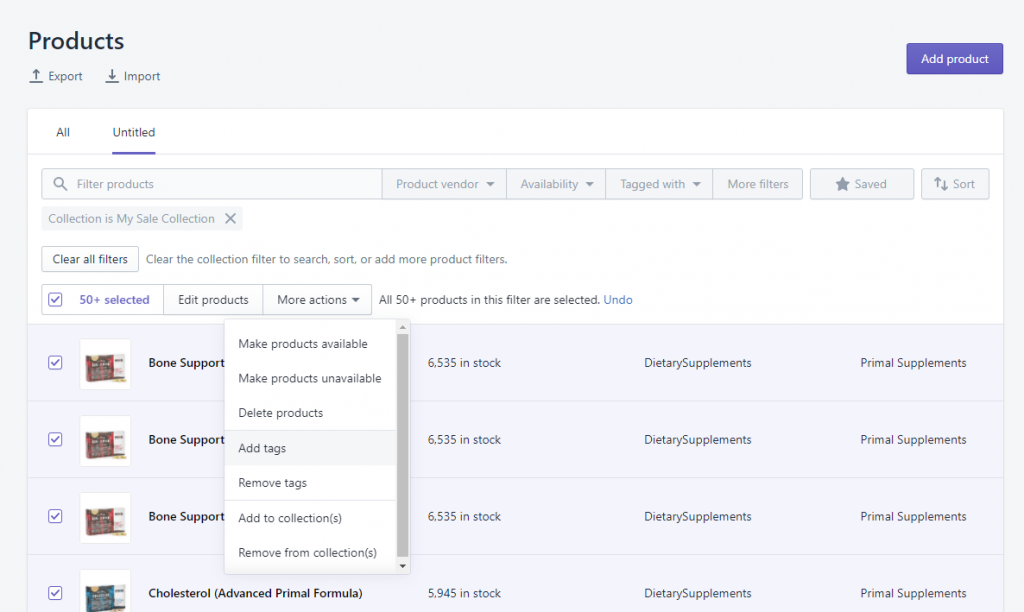
5. Now you have every product select you can go to the More Actions dropdown menu and select Add Tags.
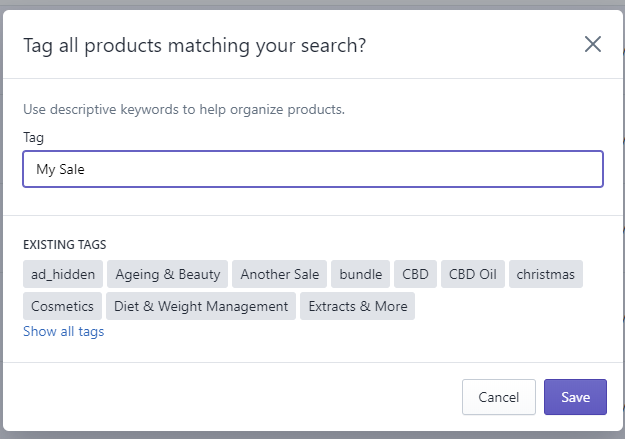
6. In the tag field, enter a name which you wish to group this collection by. This could be the name of your sale or something else such as the collection name.
7. When you are done press Save.
8. Head to Apps and select Appy Discounts – Bulk Sale App
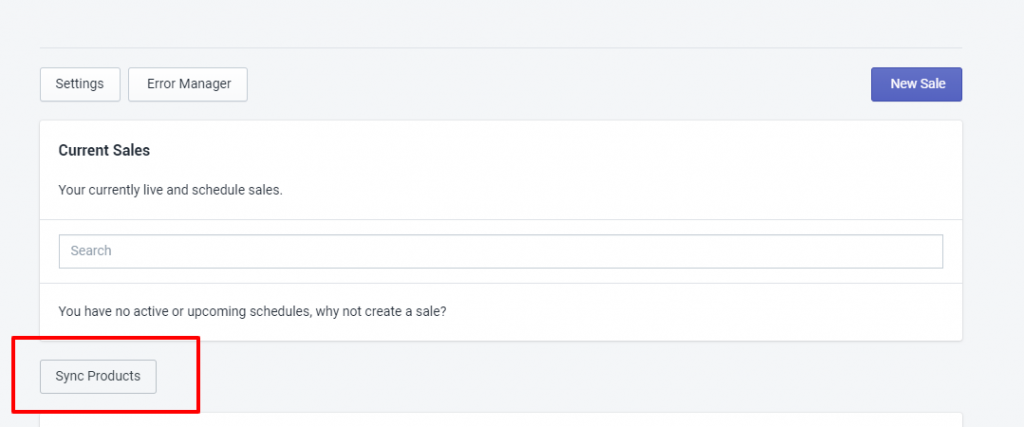
9. Now you have made changes to your products you need to remember to Sync those changes to our app. Press Sync Products at the bottom of the homepage. Depending on the number of products you have this can take up to 10 minutes.
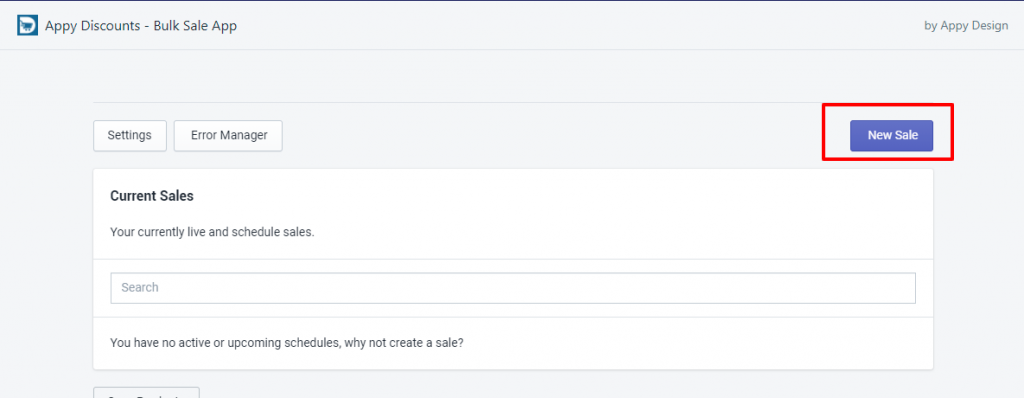
9. Click on the New Sale button at the top right.
10. Set up your sale information as you would in creating your first sale article. When you get to add products go to the next step here.
11. Now you are ready to find those products.
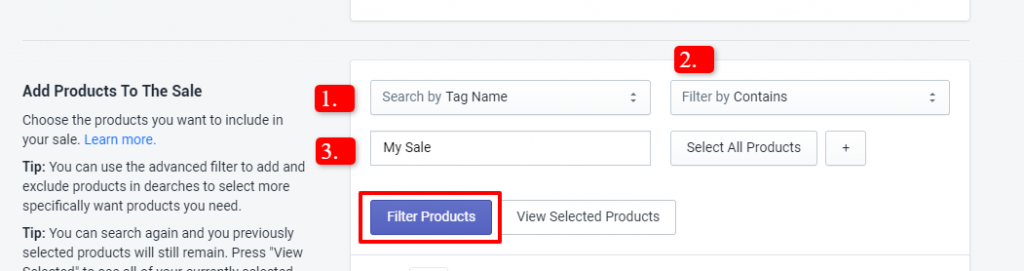
12. From the filter, select search by Tag Name and filter by Contains and finally enter in the tag you set earlier.
13. Press Filter Products
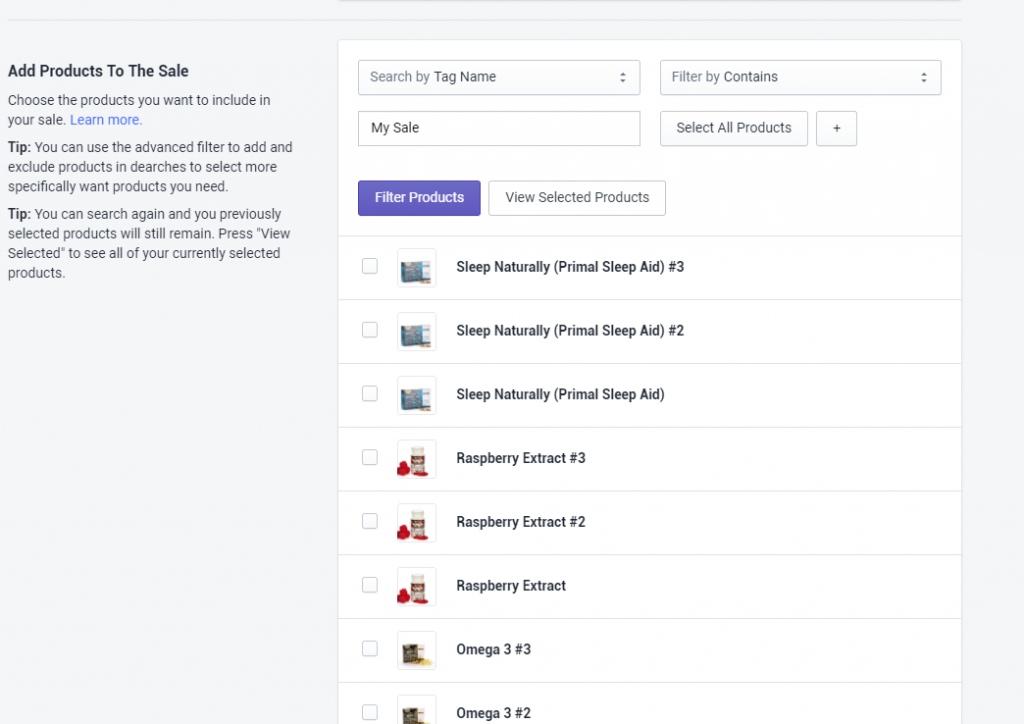
14. If everything has gone well, you should see all those products you tagged earlier from your collection. Here you can select them individually if you want to select them all then read step 15.
Selecting all the products in the collection
Once you have confirmed products are returning from your new tag, you can go ahead and set up the auto-selection of all those products.

15. On the first filter press Select All Products.
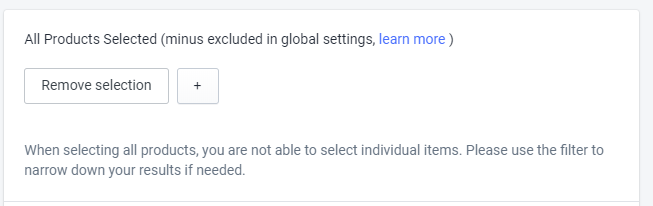
16. Once clicked it will tell you that you have selected all products. Here is where you can now narrow down the search results by adding an additional filter by clicking on the + button.
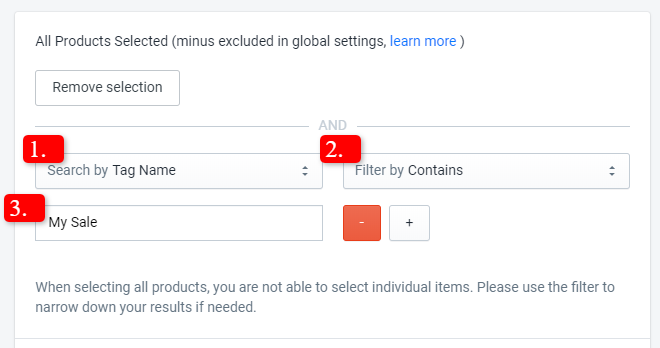
17. Now enter the same details as before, search by Tag Name and filter by Contains and then enter your tag you created.
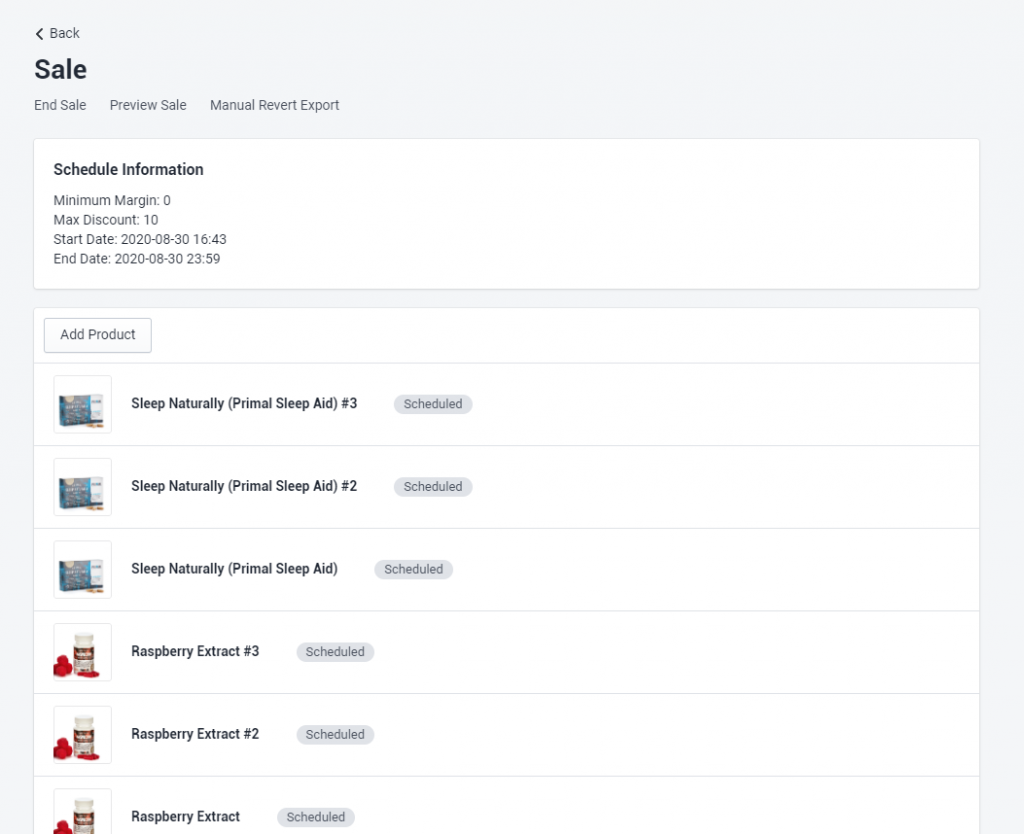
18. Finish the rest of the sale and press Save
That is it, all those products should be selected and you can see them by clicking on your new sale to see the product selection.